Showing posts with label ink. Show all posts

Saturday, 15 November 2014

Winter Wonderland


I have been having another play around with my distress and momento inks with my Inkylicious brushes and I am impressed.
I don't think I will use the brayer again!!

The brushes give you far much more control over details of where you want your colours placed.
I had made cards of similar looks using the brayer before, but it was always a bit hit or miss, whereas this? It works everytime!

Inks Used: Distress and Momento.
Brushes: Inkylicious
Stamps: Inkylicious Winter Wonderland.

Friday, 14 November 2014

Inkylicious Brushes and Sunset


Having another play around with my Inkylicious brushes with distress inks and momento inks!
I love this stamp from Inkylicious!
I had to have a go at creating something like this just to see how it would go.

I am quite pleased with it apart from the way I lined up the bottom of the stamp with the bottom of the inked circle behind for the sunset.

Will need to revisit this one I think!

Friday, 12 September 2014

Massive Craft Sale!

Hi all!

Me and Dad found loads of craft stuff lurking in his back room left over from when Mum was alive.

I have not got the space for it and he deserves a wee treat for himself so we decided to sell it off!

We have tools, papers, inks, embellishments the LOT!

Over fifty items for sale so far and there is more to get added.

We will have a craft robo, foilit machine with laser printer and stamps added at a later date too.

Go have a nosey over on my craft sale page!! 

Monday, 25 August 2014

Promarkers and stamping.

I couldn't face getting paper all over my just hoovered carpet last night so I ended up colouring with promarkers some stamped images!

Penny Black stamp with Momento Tuxedo Black ink and coloured with promarkers.


No idea where this stamp is from as it is not labelled!!


Thanks for looking!

Saturday, 23 August 2014

Perfect Pearls take one!

Well I came across some perfect pearls in the craft stash and I had to look up to see how to use them. I decided to try the resist technique using personal impressions and V&A stamps.


Range of colours I have.

Versa mark watermark ink pad then two colours of pearls and stamped again with versamark to take off some of the powder.


Straight forward stamping with a clear sticky ink and going over with various colours!


Both of these were done using the same pearls colour! 
In the first one I coloured the paper with distress ink and then used the purple powder to make it shimmer and used the same ink pad to take off some of the powder leaving the impression of the stamp.
On the second one, I simply covered the paper with a clear sticky ink and used the same powder and took off some of the powder with the ink and stamp as before.

Exact same as above, just using green instead of purple.

A simple stamp and colour with the bronze.


Thursday, 28 November 2013

Late night crafting!

Well I could not sleep at all during the night, so here are the results of a sleepless night!

Three pretty Christmas cards!

Images are all Penny Black, coloured with Promarkers and Sakura gelly roller pens.
Various backing papers used with Anita's glossy accents on the red noses and the snow in the stamped images.
Embossing done with the cuttlebug and winter border folders.
ribbons and peel offs used.


Wednesday, 27 November 2013

Late night toppers!

I really could not sleep at all through the night, so decided to be very mature and grown up and grabbed my pens and a blanket and coloured in for a few hours!

Here are some of the things I finished!

Penny Black, Momento black ink, coloured with Promarkers.

Penny Black, Momento black ink, coloured with Promarkers and Sakura Gelly Rollers.

The Gelly pens add a 3d effect and texture to the image.


Penny Black, Momento black ink, coloured with Promarkers and Sakura Gelly Rollers.

Penny Black, Momento black ink, coloured with Promarkers and Sakura Gelly Rollers.

Penny Black, Momento black ink, coloured with Promarkers and Sakura Gelly Rollers.

Penny Black, Momento black ink, coloured with Promarkers and Sakura Gelly Rollers.

Penny Black, Momento black ink, coloured with Promarkers and Sakura Gelly Rollers.

Sunday, 24 November 2013

My First Attempt with Distress Inks!

Mum had loads of distress inks which have terrified me for a couple of years, but I bit the bullet and looked up how to use them! :D
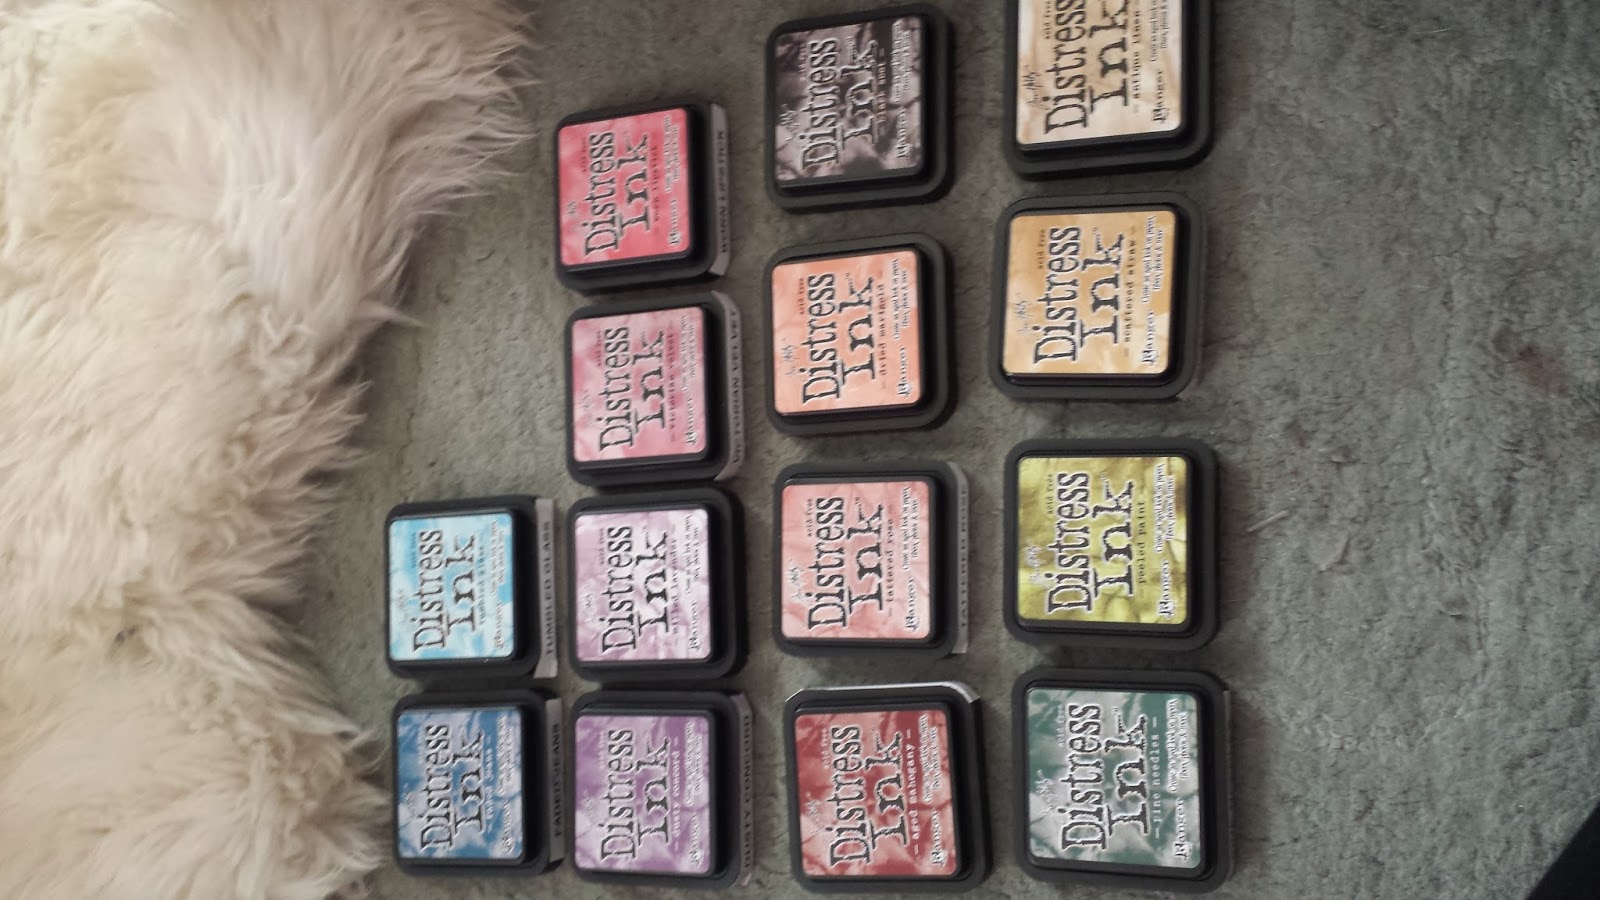
Nice shinies!

So, I decied to use some white backing card from Rymans that I use for promarkers, I had no idea if you could stamp on top of distress inks and if so, how would promarkers go over it, so I decided to try!
Using the lighter ink first, I used a little make up sponge that mum had in the same box and went around the edges roughly into the centre.
Then using the darker ink, I went round the more outer edge. I smudged into the centre where the image would be placed.
 One stamped image chosen from my stamps, I think the blue will make it look outdoorsey!
Image has been stamped with Momento Black ink pad.
The name of the stamp escapes me at the moment but will post it later!
Image has been coloured with promarkers.

This will do nicely as a topper for  a card, leaving plenty of space around the outer edges to put ribbons, sentiments, embossing, embellishments and of course GLITTER!

..Well, come on, It's for Christmas!

Friday, 22 November 2013

First Christmas Card since 2010!! - Feedback welcome!

Hey all!

OK, so I got my craft on today as I posted earlier, and here are the results!

Getting all of the stuff out I needed may have created a bit of a crafty mess....
Oops!

 All of the bits waiting to be put together!


I did not have any blue glitter card, so I made my own!


The assembled card, glitter and all!

Foiled snowflake card as backing layered with foiled cream snowflake paper stock. 
Side border white paper is textured with flock. 
Punches used: Martha stewart gingerbread man boarder punch, xcut snowflake punch. Image stamped is forever friends independent stamp (not in a set), coloured with promarkers on white card stock, then backed with white card which was glittered by myself. 
Image and backing cut out and embossed with Nestabilities Labels Two and Cuttlebug. Sentiment is cut out card topped with letter and boarder peel-offs.


So there we have it!

My first card since making them with Mum.

I think she will have been watching over me having a giggle at the mess I was making.