Showing posts with label guide. Show all posts

Saturday, 23 August 2014

Perfect Pearls take one!

Well I came across some perfect pearls in the craft stash and I had to look up to see how to use them. I decided to try the resist technique using personal impressions and V&A stamps.


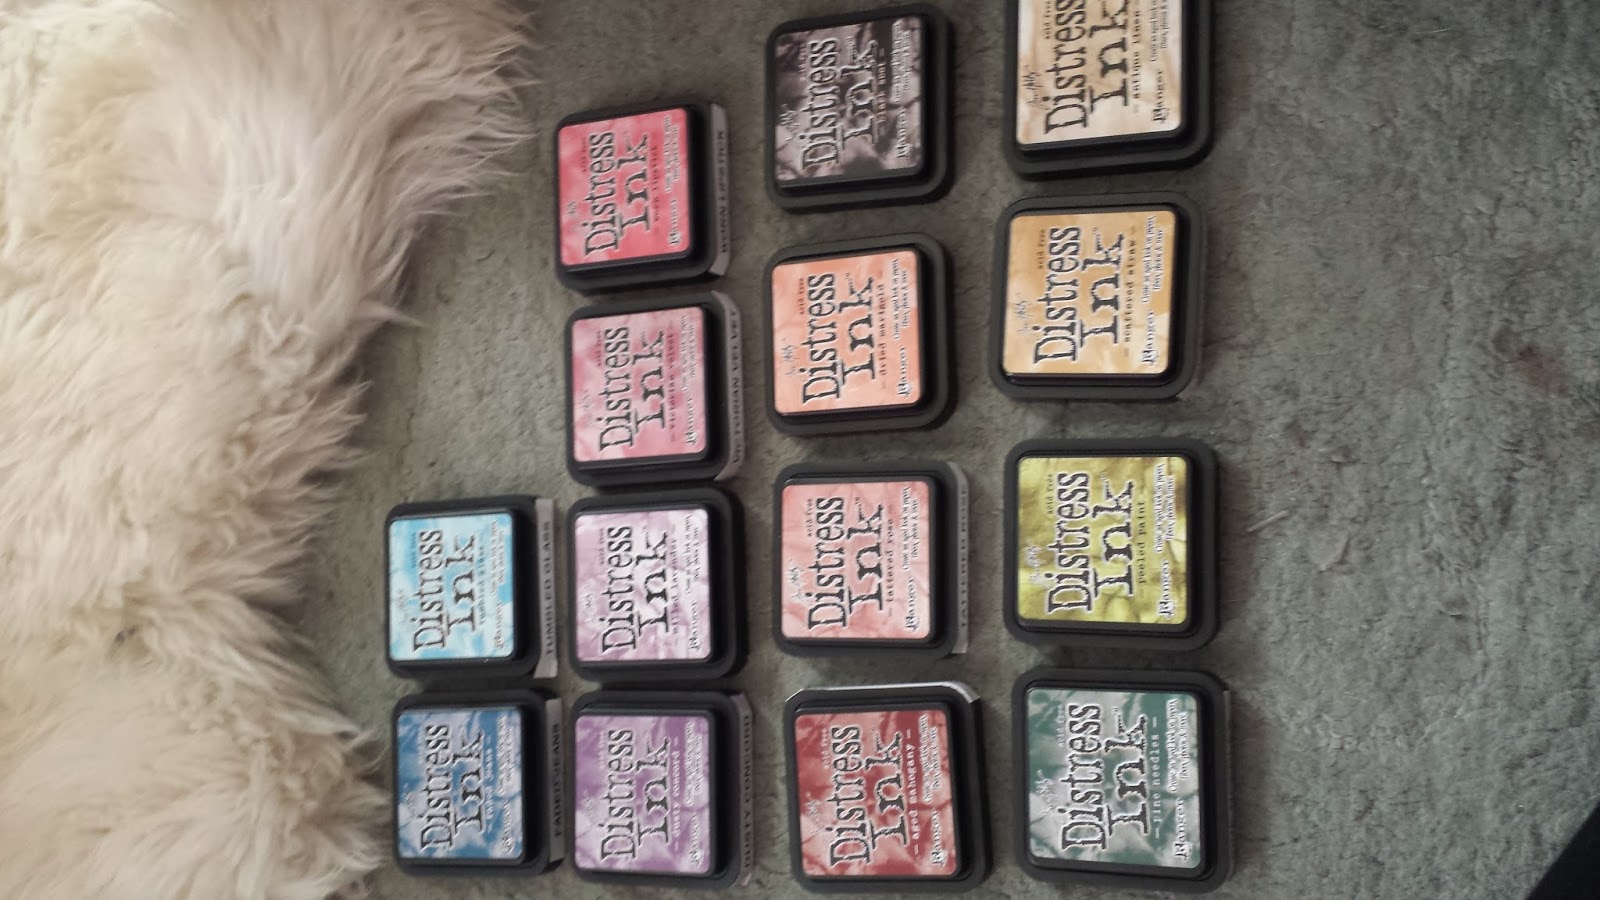
Range of colours I have.

Versa mark watermark ink pad then two colours of pearls and stamped again with versamark to take off some of the powder.


Straight forward stamping with a clear sticky ink and going over with various colours!


Both of these were done using the same pearls colour! 
In the first one I coloured the paper with distress ink and then used the purple powder to make it shimmer and used the same ink pad to take off some of the powder leaving the impression of the stamp.
On the second one, I simply covered the paper with a clear sticky ink and used the same powder and took off some of the powder with the ink and stamp as before.

Exact same as above, just using green instead of purple.

A simple stamp and colour with the bronze.


Friday, 29 November 2013

15 BAG GIVEAWAY!!!

Evening all!

I hope you have all had a lovely crafty or cozy evening!

Bit chilly here in Scotland!

Anyway, if you would like a huge goodiebag for nowt, then enter my draw!!

All of the info is....... ------> HERE!

Loads of brand new stuff up for grabs to fifteen lucky people!

Tuesday, 26 November 2013

A handy little tutorial.

Good evening all!

...or should that be good morning at 3am?

I have this handy little link I came across today and it is by far the most useful little guild and video I have found for how to tie perfect little bows!

You use a fork believe it or not!

These little bows are fantastic as embellishments for cards or scrapbooking!

Have a little look here!

Sunday, 24 November 2013

My First Attempt with Distress Inks!

Mum had loads of distress inks which have terrified me for a couple of years, but I bit the bullet and looked up how to use them! :D

Nice shinies!

So, I decied to use some white backing card from Rymans that I use for promarkers, I had no idea if you could stamp on top of distress inks and if so, how would promarkers go over it, so I decided to try!
Using the lighter ink first, I used a little make up sponge that mum had in the same box and went around the edges roughly into the centre.
Then using the darker ink, I went round the more outer edge. I smudged into the centre where the image would be placed.
 One stamped image chosen from my stamps, I think the blue will make it look outdoorsey!
Image has been stamped with Momento Black ink pad.
The name of the stamp escapes me at the moment but will post it later!
Image has been coloured with promarkers.

This will do nicely as a topper for  a card, leaving plenty of space around the outer edges to put ribbons, sentiments, embossing, embellishments and of course GLITTER!

..Well, come on, It's for Christmas!

Saturday, 23 November 2013

Two In a Row

Well, I decided to start another card this evening after earlier success on the Christmas theme, and before I knew it, it was complete!

Have a look! :D


FlowerSoft polar friends snow globe!

Image decoupage by Flowersoft, globe and card basic stock from Flowersoft.

Glittered the stars and snow inside on the ground and then inserted some Polar White Flowersoft for snow shaker effect.

Card layered with blue and silver snowflake foiled card then decorated with punched snowflakes, ribbons and sticky gems.

Added some silver peel offs to finish!

Sentiment is a simple silver peel off (was too late to use the embossing gun) on a cut out tag on the Slice.


Friday, 22 November 2013

Flowersoft Globes!!


Well my second project this evening shall be this Flowersoft globe :-)

First Christmas Card since 2010!! - Feedback welcome!

Hey all!

OK, so I got my craft on today as I posted earlier, and here are the results!

Getting all of the stuff out I needed may have created a bit of a crafty mess....
Oops!

 All of the bits waiting to be put together!


I did not have any blue glitter card, so I made my own!


The assembled card, glitter and all!

Foiled snowflake card as backing layered with foiled cream snowflake paper stock. 
Side border white paper is textured with flock. 
Punches used: Martha stewart gingerbread man boarder punch, xcut snowflake punch. Image stamped is forever friends independent stamp (not in a set), coloured with promarkers on white card stock, then backed with white card which was glittered by myself. 
Image and backing cut out and embossed with Nestabilities Labels Two and Cuttlebug. Sentiment is cut out card topped with letter and boarder peel-offs.


So there we have it!

My first card since making them with Mum.

I think she will have been watching over me having a giggle at the mess I was making.


Tuesday, 14 May 2013

A card with brayering....take one!

Well, today I decided to get the brayer out and to attempt  the cards that Mum used to make. She did teach me how to do some of it once, but I have not picked it up since and could not remember much of it.

First attempt was the basic task of making a sky and water background on silk card.


The brayer Mum used!
I now have loads of these, I chose "Waterfall" as I am creating a water and sky background!
One mask and some crinkled paper later.....
One background!

~~~~~~~~~~~~~~~~~~~~~~~~~~~~~~~~~~~~~~~~~~~~~~~~~~~~~~~~~~~~~~~~~~~~~~~

OK, so once I had figured this out I decided to make a replica of one of Mums cards in her DoCrafts gallery...

Here is hers...


So...I got the stuff out and here we go!!


Image stamped with Momento Ink pad onto silk card.
Image Dippy toe stamp from clarity...not sure if that is it's real name but Mum always called it that!

I used this 3/4" stamp (now I know why she had it) to punch out a moon mask from a post it note! Make sure some of the sticky bit is on it.

Mask off the moon and the waterline to colour the sky.

Ink up the brayer as usual and then roll the excess off onto scrap paper and then fade at the edge of the brayer in the usual way :)

One coloured sky!

Mask off the sky to colour the water.

Ink up the brayer and take of the excess onto a crumpled piece of paper. VoilĂ   The ripples are transferred to the brayer!

Both areas are coloured and the water has a ripple effect.

Remove the moon mask to reveal the stamp below.

Trim to size.

Backing papers and peel offs.

scoring the backing card from A4.

Main image layered onto two pieces of card.

Corner peel offs added in three parts each.

Main lines added around edges of the backing card and then around the edges of the image and layers.

I added some ceramic roses to compliment the design as Mum did with silk roses.

Roses mounted with syllicone glue.

Peel off design.

Main image mounted.


                          Mums                                                                            Mine